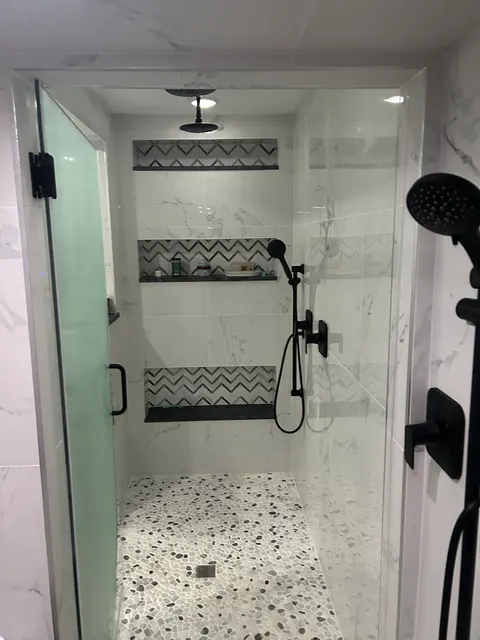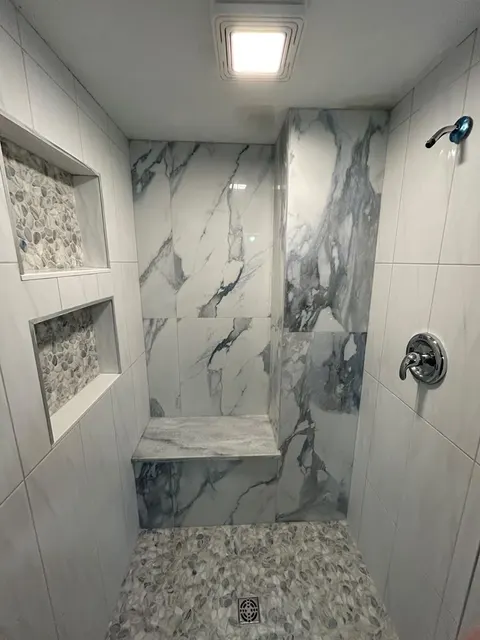
- Why grout leaks
- Two approaches
- Sheet membranes
- Liquid membranes
- Comparison
- Pans & mortar beds
- Niches, benches, valves
- Flood testing
- FAQ
When a failed shower gets torn out, the tile often looks fine from the front. The damage is behind it: soft studs, black subfloor, a ceiling stain in the room below. Showers rarely fail at the tile. They fail at the layer nobody sees once the job is done. This guide explains that layer.
Why grout and tile aren't waterproof
Porcelain tile itself sheds water well. The problem is everything between and behind it. As This Old House explains, tile and grout are not waterproof, and cement board resists moisture but lets water through. Cement-based grout is porous. Water soaks into the joints every time you shower, works its way to the back of the tile, and keeps going until something stops it.
Sealing the grout slows that down; it doesn't stop it. In a shower, the job of keeping water out of the framing belongs to a waterproofing layer under the tile. Everything in front of it, the tile, grout and thinset, should be treated as wet. Everything behind it should stay dry.
Two ways to keep water out
Pennsylvania's Uniform Construction Code adopts the 2021 International Residential Code (IRC). Section P2709.2 requires the walls and floor framing around a built-on-site shower floor to be lined with an approved material: sheet lead or copper, a PVC or CPE plastic liner, hot-mopped felt, or a load-bearing, bonded waterproof membrane that meets the ANSI A118.10 standard. In practice that gives you two approaches.
- The traditional liner. A PVC or CPE sheet sits under a mortar bed. Water that gets through the tile and the top layer of mortar reaches the liner, runs down its slope to weep holes in a two-piece clamping drain, and leaves. The mortar above the liner stays damp by design.
- A bonded membrane. A sheet or liquid membrane is bonded directly under the tile, on the walls and the floor. Water stops just behind the tile and its thinset, and goes into a drain built to bond to the membrane. Less material stays wet, and it dries out faster between showers.
Both meet code when they're built to the code and the manufacturer's instructions. On every shower we build, the walls and pan get a continuous waterproofing membrane before the first tile goes up, either a sheet system like Schluter-style membranes or a liquid-applied RedGard-type coating, with sealed seams, corners, niches and valve penetrations.
Sheet membranes (Schluter-Kerdi style)
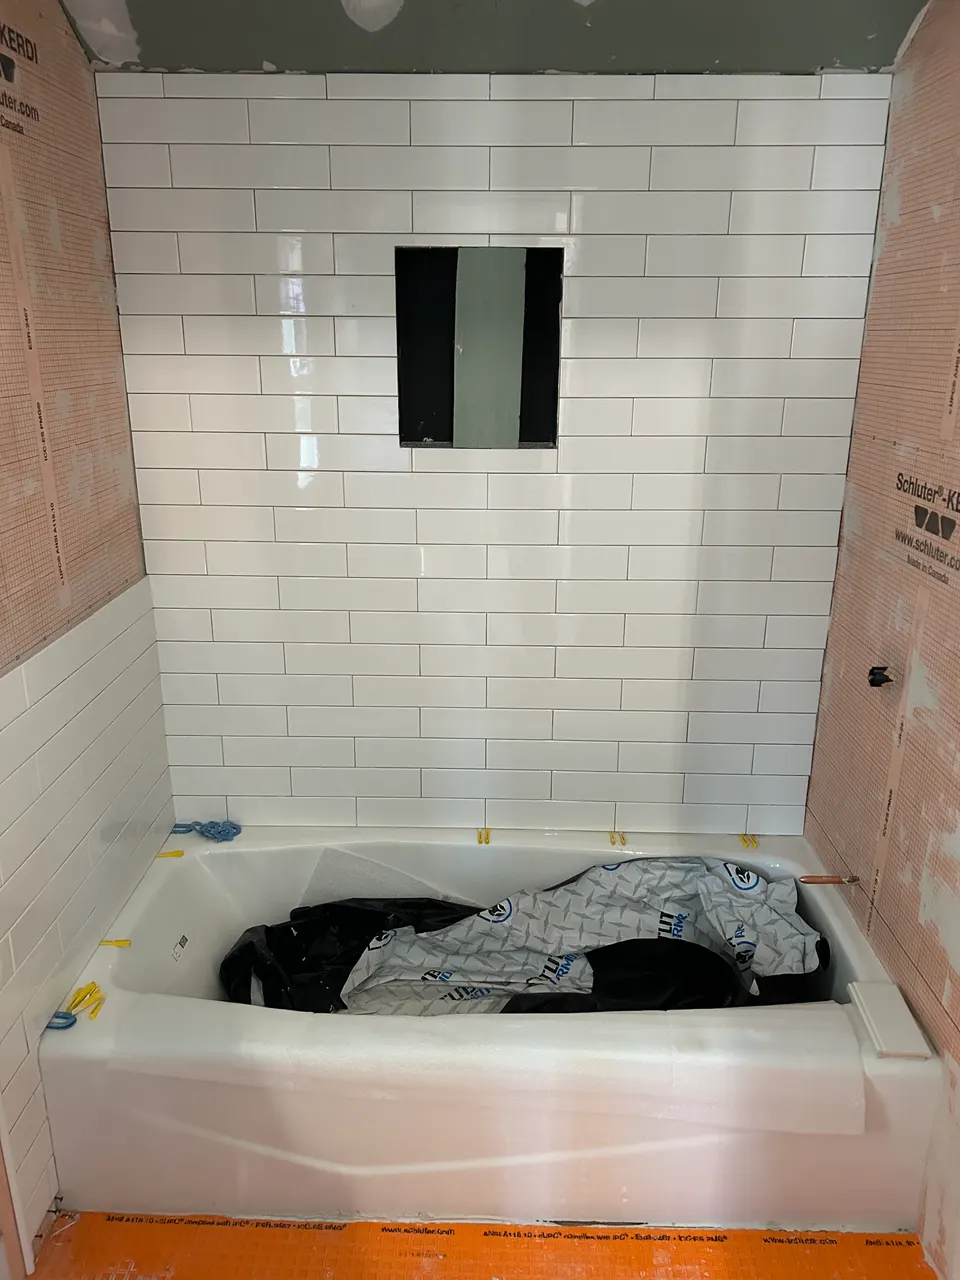
A sheet membrane is a thin, flexible fabric-faced plastic sheet bonded to the wall and floor with thinset mortar. Schluter's KERDI is the best-known; Custom Building Products also makes a RedGard Fabric Membrane. How the system goes together, from Schluter's product information:
- Thickness. KERDI is 8 mils thick, and because it's made in a factory, that thickness is the same everywhere on the wall.
- Bonding. It's set in Schluter's own setting mortars or an unmodified thinset, embedded so there are no air pockets behind it.
- Seams. Sheets overlap at least 2 inches, or butt together with a strip of KERDI-BAND over the joint. RedGard's fabric membrane uses a 2-inch overlap with its seam tape, or seam tape over butted joints.
- Corners. Pre-formed inside and outside corners, so nobody is folding and cutting membrane in the hardest spots.
- Penetrations. Pre-made pipe seals go over the shower head and body spray arms, and a larger seal fits the mixing valve. KERDI-FIX or another suitable sealant is the alternative.
- Drain. A drain with an integrated bonding flange so the floor membrane laps directly onto it.
Schluter says no wait is needed before tiling over KERDI, but recommends a water test first, starting at least 24 hours after the membrane is set so the thinset at the seams reaches final set. Custom Building Products says the same for its fabric membrane: tile right away, flood test no sooner than 24 hours.
Liquid-applied membranes (RedGard and Hydro Ban style)
A liquid membrane is rolled, brushed, troweled or sprayed onto the backer board and cures into one continuous rubbery skin. There are no seams in the field, which is the big advantage. The trade-off is that the thickness depends on the person applying it.
RedGard-type membranes
From Custom Building Products' RedGard data sheet (TDS-104):
- Color tells you when it's dry. It goes on pink and dries to a solid dark red, typically in 1 to 1.5 hours per coat. Cold surfaces or high humidity can stretch that to as much as 12 hours.
- Two coats minimum. At least two coats are required when it's rolled or brushed, with the second coat at right angles to the first. To meet ANSI A118.10 and its IAPMO shower pan listing, each coat goes on at 80 square feet per gallon, and no single coat should be thicker than 40 mils wet. After the first coat turns red, the film is checked for voids and pinholes before the second coat.
- Corners first. Inside corners and wall-to-floor joints are coated first, extending more than 2 inches each side. Reinforcing tape is embedded for extra protection at changes of plane and over gaps wider than ⅛ inch.
- Drains and pipes. RedGard bonds to PVC, ABS and stainless drains, with reinforcing fabric worked around the drain flange. It also bonds to PVC, ABS, copper, brass and stainless pipe penetrations once they're abraded.
- Temperature. Surfaces must stay above 40°F during application and for 72 hours after.
- Flood test once both coats are fully dry.
Hydro Ban-type membranes
LATICRETE's HYDRO BAN works the same way with a different color cue: it changes from light sage to olive green when cured. LATICRETE lists it at 0.020 to 0.030 inch (20 to 30 mils) thick when cured, says it exceeds ANSI A118.10, and doesn't need fabric in the field, coves or corners. It can be flood tested in 2 hours at 70°F or warmer.
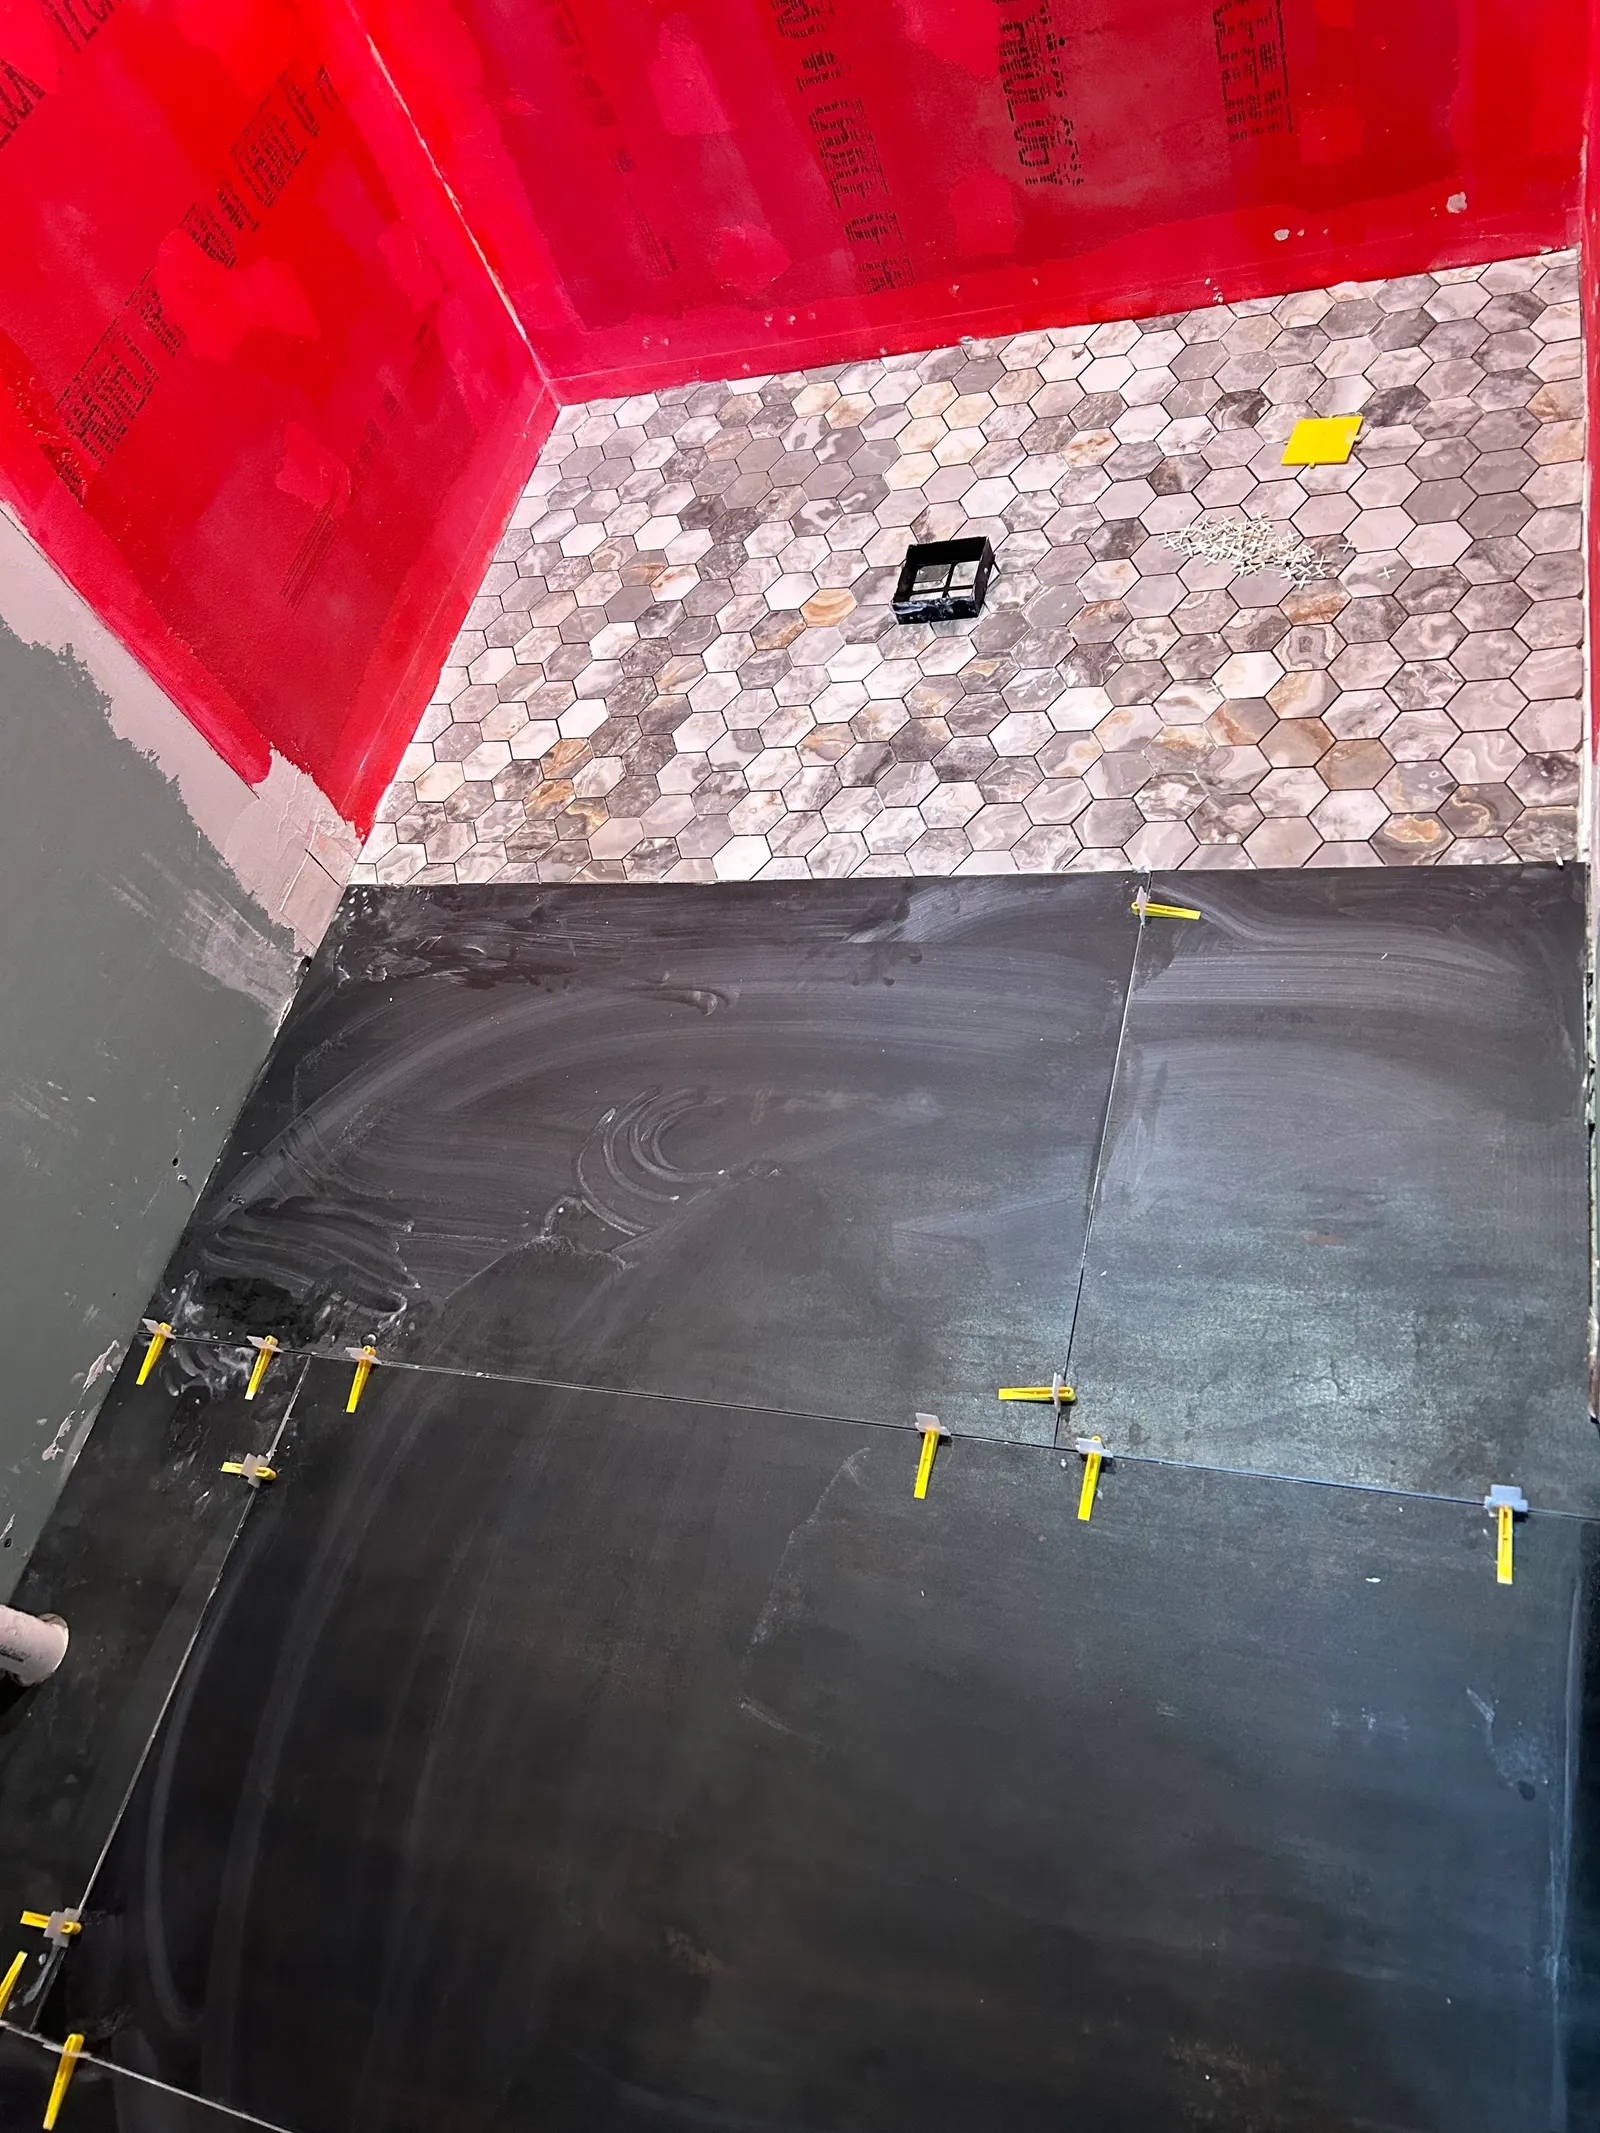
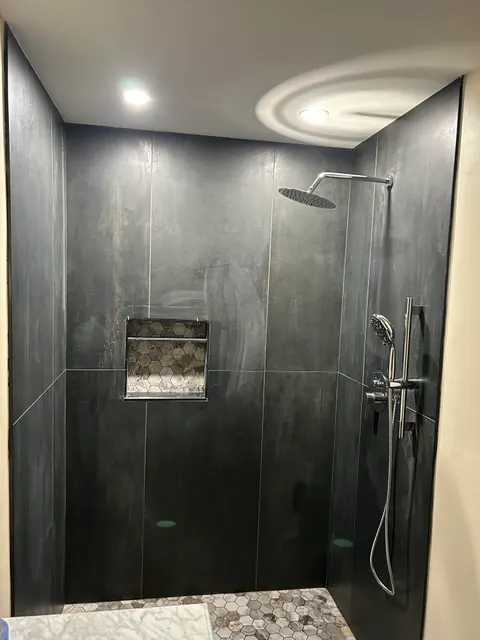
The red walls in our charcoal porcelain walk-in shower are a liquid membrane rolled over the walls and into the corners before the large-format tile went up.
Sheet vs. liquid membranes at a glance
| Sheet (Kerdi style) | Liquid (RedGard or Hydro Ban style) | |
|---|---|---|
| How it goes on | Embedded in thinset like wallpaper | Rolled, brushed, troweled or sprayed in two coats |
| Thickness | Factory-uniform (KERDI is 8 mils) | Depends on application; RedGard cures 0.015 to 0.038 inch, Hydro Ban 0.020 to 0.030 inch |
| Seams and corners | 2-inch overlaps or seam band; pre-formed corners | No field seams; corners coated first, tape where needed |
| Pipe penetrations | Pre-made pipe and valve seals | Bonds directly to abraded pipe; reinforcement where needed |
| Before tile | No wait | Each coat must be dry (color change) |
| Before flood test | At least 24 hours | RedGard: both coats dry. Hydro Ban: 2 hours at 70°F or warmer |
| What to watch | Full thinset coverage behind the sheet; lapped seams | Enough coats at the right rate; no pinholes |
Neither one is "the good one." Both meet ANSI A118.10 when installed per the manufacturer. What matters is that the whole shower is one system: the membrane, the drain made to bond to it, and the setting mortar the manufacturer calls for. RedGard's data sheet, for example, says not to use premixed adhesives over the membrane, and KERDI is set in Schluter's mortars or an unmodified thinset.
Shower floors: pre-sloped trays, mortar beds and prefab bases
Whatever the membrane, the floor has to slope. The 2021 IRC requires the finished shower floor to slope uniformly to the drain at no less than ¼ inch and no more than ½ inch per foot (Section P2709.1). There are four common ways to get there.
Traditional mortar bed with a liner
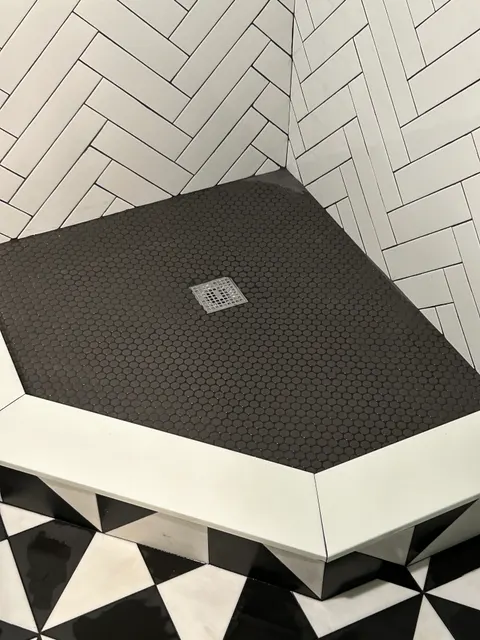
A sloped mortar "pre-slope" goes down first, because the code requires the liner itself to be sloped ¼ inch per foot to the weep holes over a smooth, solid base (P2709.3). The PVC or CPE liner goes over it, up the walls and over the curb, extending at least 2 inches above the finished threshold (P2709.2). It can't be nailed or punctured anywhere lower than 1 inch above the threshold. A flanged drain with a clamping ring and weep holes holds the liner (P2709.4). Then a second mortar bed goes on top, and tile on that. It's proven and forgiving of odd shapes, but it's the slowest and heaviest floor.
Mortar bed with a bonded membrane on top
One sloped mortar bed, then a sheet or liquid membrane bonded to its surface and tied into a bonding-flange drain. RedGard's data sheet notes mortar beds must be sufficiently cured before the liquid goes on and before flood testing. This is common when the shower is an unusual size or the bench runs into the floor.
Pre-sloped foam tray
A factory foam tray with the slope built in, made for a matching drain, covered with the sheet membrane. It's light, flat and fast, and it skips the mortar cure.
Prefab base
An acrylic, fiberglass or composite base is waterproof on its own. The wall waterproofing has to tie onto the base's flange per the manufacturer's details, because that joint is where water tries to get in.
HomeGuide's shower pan figures (2023) put a hot-mop pan base at $225 to $500, a poured mud base at $350 to $650, and lining a typical shower with a waterproof membrane at $300 to $1,350. These are published estimates, not our prices. For complete shower costs, see our walk-in shower cost guide.
Niches, benches, curbs and valves: where showers leak
A flat wall is easy to waterproof. Leaks start where the surface changes direction or gets a hole in it.
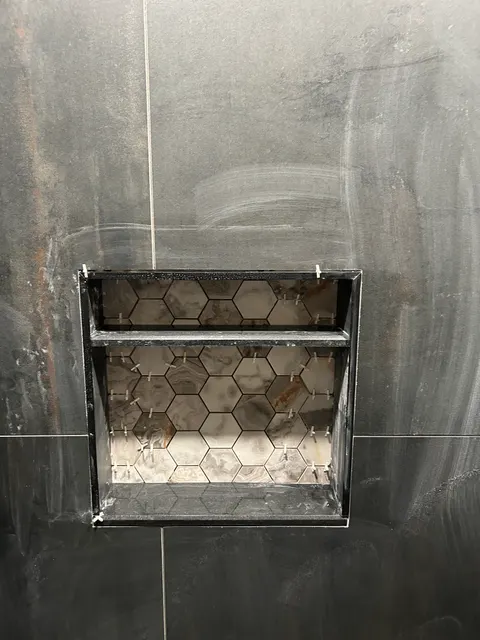
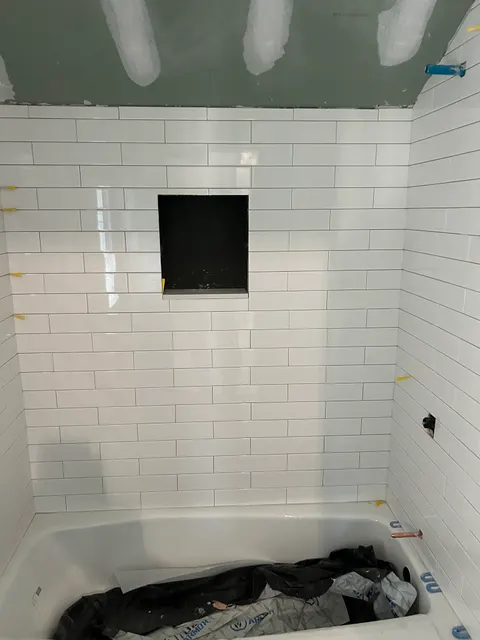
- Niches. A niche has five inside corners and four outside corners in a space the size of a shoebox. The membrane has to wrap continuously from the wall into the niche and back out. The sill should pitch slightly toward the shower so water doesn't sit on it. Pre-formed foam niches made for a membrane system cut down on the corner work.
- Benches. The membrane goes over the top, down the face and onto the floor membrane in one continuous layer. The seat should slope back toward the drain, never toward the wall.
- Curbs. Water sits against the inside of the curb every shower. The waterproofing runs over the top and down the outside face, and code requires a liner to extend at least 2 inches above the finished threshold.
- The valve and shower head. Every pipe through the wall is a hole in the membrane. Sheet systems use pre-made seals; liquid systems bond to the pipe and get fabric or a seal around the larger valve opening. A valve body set too deep or too shallow makes this harder, so valve depth is checked against the finished wall thickness during rough-in.
- Inside corners and the floor-to-wall joint. These get flexible sealant instead of grout once the tile is set. Tile industry movement-joint guidance (TCNA method EJ171) is why: walls and floors move differently, and rigid grout in a corner cracks.
- Screws through the tile. Glass hinges, grab bars and shelves fasten through the membrane. Holes get sealed, and solid blocking behind the backer keeps the hardware tight so it doesn't work the hole loose.
- Windows in the shower. The membrane has to be wrapped into the window opening and the window itself has to handle a wet wall.
Flood testing: proving it before the tile goes on
A flood test is the one chance to find a leak while it's still cheap to fix. The drain is plugged, the pan is filled with water, the water line is marked, and the shower sits. If the level holds and nothing shows up below, the floor is proven.
- Code test for liners. Section P2503.6 of the 2021 IRC requires a completed shower liner to be tested by plugging the drain and filling the floor with water to at least 2 inches deep at the threshold, building a temporary dam if the curb is lower than that. The water has to hold for at least 15 minutes with no sign of leaks. Where a permit covers the work, the inspector may want to see it.
- Manufacturer tests. Schluter describes its water test as typically 24 hours, started at least 24 hours after the membrane is set, and longer in a cool room. RedGard can be flood tested once both coats are fully dry, and HYDRO BAN in 2 hours at 70°F or warmer.
Flood tests cover the floor and the bottom of the walls. The rest of the wall is protected by doing the membrane right in the first place, which is why it's worth asking how the seams, corners, niche and valve are handled.
Questions to ask any contractor about waterproofing
- What goes behind the tile, and which manufacturer's system is it?
- How is the shower floor built and sloped, and what drain ties into the membrane?
- How are the niche, bench, curb and valve openings waterproofed?
- Will the pan be flood tested, and for how long?
- What setting mortar goes over the membrane, and is it one the membrane maker allows?
- Do inside corners get grout or flexible sealant?
A good answer is specific. "We use a membrane" is not. Our guide to choosing a contractor in Pennsylvania covers the rest of what to check before you sign, and the bathroom remodel cost guide shows how waterproofing fits in a full budget.
Every project starts with a free walkthrough and a written, itemized estimate that lists the waterproofing system separately, so you can see what goes behind the tile before you commit. Like-for-like fixture replacement is part of our work, and new rough-in is done with licensed trade partners we coordinate. Request your estimate.
Shower waterproofing questions
Is grout waterproof?
No. Cement-based grout is porous, and This Old House notes tile and grout are not waterproof and cement board lets water through. Sealing grout slows water down, but the waterproofing in a shower comes from a membrane installed behind the tile.
Is Kerdi better than RedGard?
Neither is better in every case. Both can meet ANSI A118.10 when installed to the manufacturer's instructions. A sheet membrane has a factory-uniform thickness but needs lapped seams; a liquid membrane has no field seams but needs enough coats at the right rate.
How many coats of RedGard does a shower need?
Custom Building Products requires at least two coats when it's rolled or brushed, and to meet ANSI A118.10 and its IAPMO shower pan listing, each coat goes on at 80 square feet per gallon. Each coat should be dry, solid red, before the next.
What is a shower flood test?
The drain is plugged and the shower floor is filled with water to check for leaks before tile goes on. The 2021 IRC requires liners to hold at least 2 inches of water at the threshold for 15 minutes; Schluter describes a typical 24-hour test for its system.
Does a shower niche need special waterproofing?
Yes. The membrane has to run continuously into the niche, around all of its corners and back out onto the wall, and the sill should pitch toward the shower. Niches and valve openings are where membranes are most often missed.
Sources
- This Old House: How to use a membrane system to prep a shower for tiling
- Schluter: KERDI waterproofing membrane; Schluter: Water testing the shower system; Schluter: Wait time before tiling KERDI
- Custom Building Products: RedGard Waterproofing and Crack Prevention Membrane, TDS-104, February 2025; RedGard Fabric Membrane, TDS-550, February 2026
- LATICRETE: HYDRO BAN
- 2021 IRC Section P2709, shower receptors, and Section P2503.6, shower liner test; 34 Pa. Code § 403.21, UCC adoption of the 2021 codes
- HomeGuide: Shower pan cost and walk-in shower cost, 2023